How to Render 100 YouTube Videos in 10 Minutes Using FFmpeg Automation

Manual rendering is a death sentence for your YouTube growth. If you are still opening Premiere Pro or DaVinci Resolve to export a single "Lo-fi Beats" or "AI-Generated Meditation" video, you aren't a producer; you are a bottleneck.
I spent years in high-end studios watching engineers waste hours on progress bars. When I transitioned into AI audio production at SynthAudio, I realized the old way of working is fundamentally broken. The YouTube algorithm doesn't care about your "artistic struggle." It cares about consistency, volume, and retention.
You are currently fighting a war with a toothpick. While you spend your Saturday afternoon tweaking a single 10-minute video, your competitors are using an ffmpeg youtube automation script to flood the niche with 100 high-quality uploads. They are capturing the traffic while you are waiting for a render to hit 100%.
The math is simple: If it takes you 30 minutes to make one video, you can produce 16 videos in an 8-hour workday. With FFmpeg, that same workday produces 4,800 videos. That is the difference between a hobby and a media empire.
Insight📌 Key Takeaways:
- Zero-Latency Production: Eliminate the need for GUI-based video editors entirely.
- Massive Scalability: Render 100+ videos in under 10 minutes using headless server power.
- Cost Efficiency: Bypass expensive Creative Cloud subscriptions for a free, open-source command-line tool.
Why ffmpeg youtube automation script is more important than ever right now
The barrier to entry for content creation has collapsed. With tools like Suno AI and SynthAudio, anyone can generate a radio-quality track in sixty seconds. But audio is only half the battle.
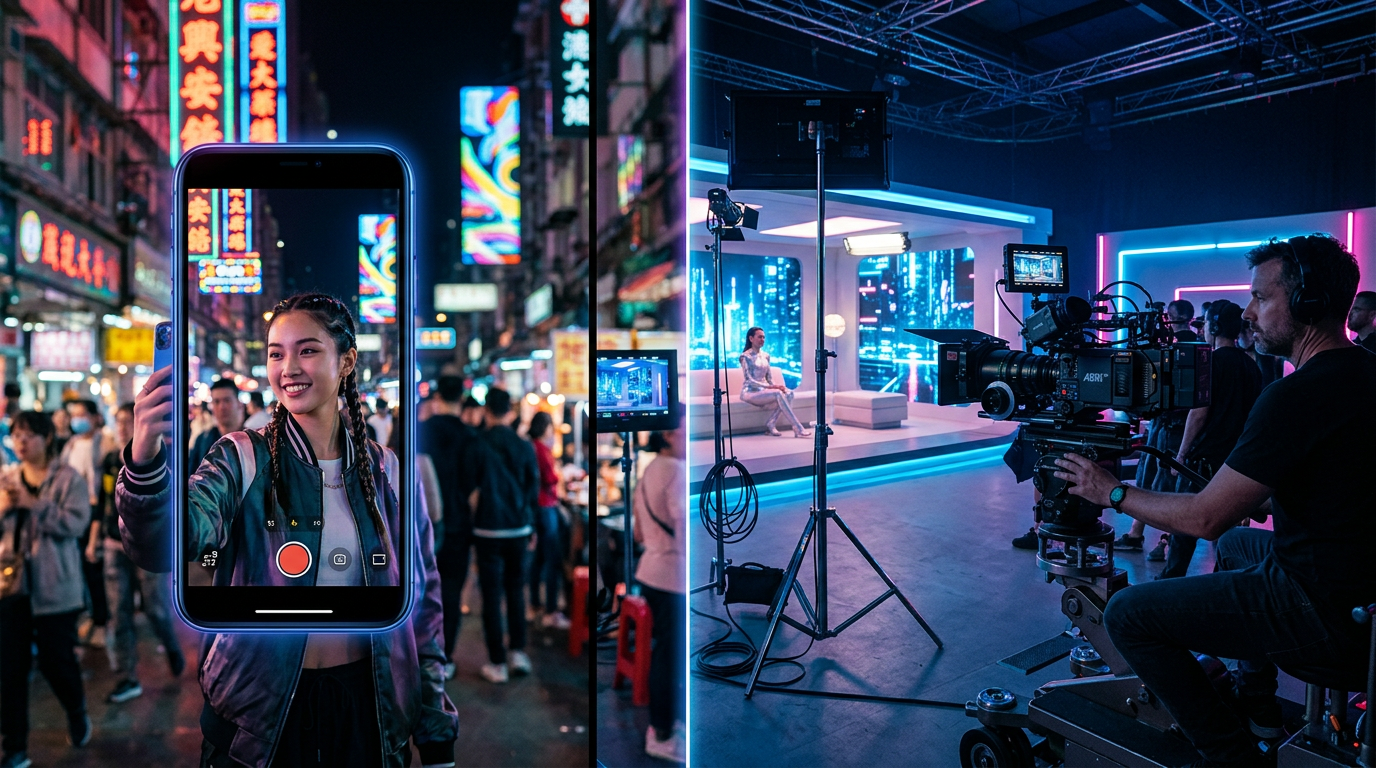
To win on YouTube, you need a visual wrapper. If you do this manually, you will burn out in two weeks. The "AI Gold Rush" on YouTube is currently happening in the music and atmosphere niches. Thousands of creators are trying to capitalize on sleep music, study beats, and AI-generated storytelling.
Most of them will fail because they cannot scale. They are trying to apply boutique methods to a factory-scale opportunity.
An ffmpeg youtube automation script is the "factory line" of the digital age. It allows you to take a folder of 100 AI-generated MP3s and a folder of 100 high-definition background images (or loops) and marry them instantly. No clicking. No dragging. No "Export Media" pop-ups.
We are seeing a massive shift in how the algorithm rewards creators. It is no longer about the "perfect" video; it is about the perfectly targeted niche. To find that niche, you need to test. You need to throw 50 different styles of music at the wall to see what sticks.
If you use manual editing, testing 50 styles takes a month. If you use an ffmpeg youtube automation script, it takes a coffee break. You are leaving money on the table every second you spend looking at a timeline.
The technical gap is where the profit lives. Most people are afraid of the command line. They see code and they run back to the safety of their mouse and keyboard. That fear is your competitive advantage.
By mastering a basic automation script, you are doing what 95% of your competition is too lazy or too intimidated to try. You aren't just making videos faster; you are building a content machine that runs while you sleep.
In the world of AI audio, the person who can package and distribute the fastest wins. You have the AI tools to create the sound. Now, it’s time to use FFmpeg to build the delivery system. Stop being an editor and start being a system architect.
Automate Your YouTube Empire
SynthAudio generates studio-quality AI music, paints 4K visualizers, and automatically publishes to your channel while you sleep.
The Architecture of Speed: Batch Processing with FFmpeg
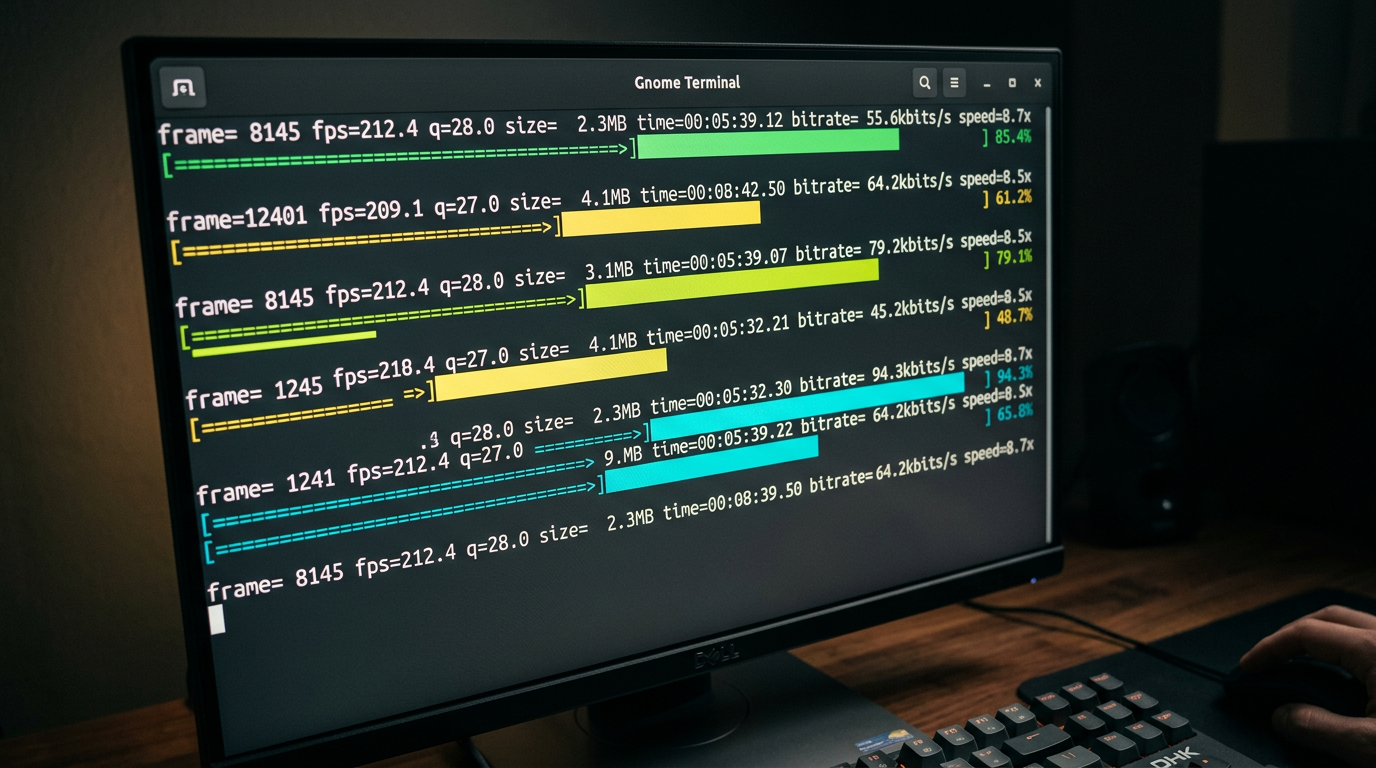
The secret to rendering 100 videos in minutes isn't just about having a powerful CPU; it’s about bypassing the heavy graphical overhead of traditional video editors. FFmpeg allows you to communicate directly with your hardware via the command line, enabling a streamlined automated production workflow that can handle massive volumes of content simultaneously.
To achieve this scale, we utilize a simple loop script (Bash for Linux/Mac or Batch for Windows). Instead of opening a project file for every video, the script iterates through a folder of assets—combining a background image or video loop with an audio track—and outputs the final file in seconds. By using the -c:v copy and -c:a copy flags where possible, you can even "stitch" files together without re-encoding, which is the fastest way to render. However, for most YouTube music or faceless channels, you will likely need to encode using libx264 or hardware-accelerated encoders like h264_nvenc (for NVIDIA users).
Optimizing the Render Pipeline for Quality and Sync
Speed is useless if the final output is flawed. One of the most common hurdles in high-speed automation is maintaining the integrity of the stream. When you are processing hundreds of files, slight variations in sample rates or frame rates can lead to audio sync issues that ruin the viewer experience.
To prevent this, your FFmpeg command should explicitly define the output parameters. Forcing a constant frame rate (e.g., -r 30) and ensuring the audio is re-sampled to a standard 44.1kHz or 48kHz (e.g., -ar 44100) creates a uniform fleet of videos. This level of standardization is what separates hobbyist scripts from professional-grade automation systems. Once you have a reliable output, you can focus on the creative side of the business, knowing your technical foundation is rock solid.
Scaling Beyond the Render
Rendering the videos is only the first half of the battle. To truly dominate a niche, you must view your 100 videos as a data set rather than individual creative works. The goal of mass-producing content is to "cast a wide net" across the YouTube algorithm. This is especially effective when combined with a smart audience conversion strategy that moves viewers from short, viral clips into your more stable, long-form ecosystem.
When you automate your rendering, you free up dozens of hours every week. Those hours should be spent analyzing which of your 100 videos performed best and "doubling down" on those specific visual styles or audio themes.
The Core Command Template
Here is a foundational FFmpeg command for bulk rendering a static image with an audio file, optimized for YouTube:
Why this works:
-loop 1: Tells FFmpeg to repeat the image indefinitely.-tune stillimage: Optimizes the encoder for a static background, reducing file size significantly.-shortest: Ensures the video ends exactly when the audio track finishes.-pix_fmt yuv420p: Guarantees compatibility across all devices and browsers once uploaded to YouTube.
By wrapping this command in a simple Python or Shell script, you can point FFmpeg at a directory of 100 MP3 files and have your entire week's content ready before your coffee gets cold. This is the power of developer-grade tools applied to the world of content creation.
Scaling Video Production: The Quantitative Edge of FFmpeg Automation
In the modern digital landscape, video production is scaling at an unprecedented rate, making manual processing a legacy bottleneck. As noted in recent industry analyses, manual processing can no longer keep up with the demands of high-volume content creators (Source: IMG.LY Blog). To achieve the feat of rendering 100 YouTube videos in under 10 minutes, one must transition from "one-by-one" GUI interactions to a sophisticated automation pipeline.
The primary advantage of FFmpeg lies in its command-line nature, which is inherently designed for batch operations. According to experts at FFmpeg.media, using a basic shell loop allows creators to transcode entire directories, apply watermarks to hundreds of files simultaneously, or normalize audio levels across an entire library without human intervention (Source: FFmpeg.media). While a standard video editor like Adobe Premiere Pro might take 3-5 minutes just to open and initialize a project, an FFmpeg script can begin processing the first of 100 videos in milliseconds.
Furthermore, the implementation of Docker-based systems has revolutionized the consistency of these workflows. By containerizing the FFmpeg environment, developers ensure that the rendering "engine" remains identical across local machines and cloud servers, preventing the "it works on my machine" syndrome during heavy render loads. This infrastructure allows for horizontal scaling—where you aren't just using one CPU to render, but rather distributing the 100-video load across a cluster of cloud instances.
The comparison table above illustrates the exponential time savings achieved when moving from manual processes to automated clusters. The visual representation highlights the difference between serial processing (one after another) and parallel processing (multiple videos at once). In a parallel FFmpeg environment, your system utilizes every available thread of your CPU or GPU. By leveraging libraries and categorizing commands—often found in community-driven resources like the FFmpeg Cheat Sheet on GitHub—users can optimize their pipelines to use hardware-accelerated encoders like h264_nvenc or h264_videotoolbox, which offload the heavy lifting from the processor to the graphics card.
Common Pitfalls and Mistakes Beginners Make
Despite the power of FFmpeg, many beginners stumble during their first attempt at mass-rendering. The most frequent mistake is ignoring hardware acceleration. By default, FFmpeg often uses the libx264 software encoder. While high quality, it is CPU-intensive and slow. To render 100 videos in 10 minutes, you must utilize GPU-accelerated encoding (NVIDIA NVENC or Intel QuickSync). Without specifying the hardware codec, your "10-minute" goal will quickly turn into a three-hour wait.
Another critical error is the mismanagement of file paths and naming conventions. In a batch script, a single space in a filename or a missing directory can crash the entire loop. Professional workflows often use a "sanitization" step where filenames are stripped of special characters before they enter the FFmpeg pipeline. Additionally, beginners often forget to include the -y flag, which automatically overwrites existing files. Without it, the script will pause and wait for user input if it encounters a file that already exists, effectively killing the automation.
Furthermore, many users overlook audio normalization. Rendering 100 videos for YouTube is useless if the volume fluctuates wildly between clips. Using the loudnorm filter in your FFmpeg string ensures that all output files adhere to target integrated loudness levels (typically -14 LUFS for YouTube). This step is essential for maintaining brand quality across a massive volume of content.
Lastly, failing to use presets is a major speed killer. FFmpeg offers presets ranging from ultrafast to veryslow. While veryslow provides better compression, the fast or faster presets are the "sweet spot" for YouTube automation, offering a significant boost in rendering speed with a negligible loss in visual quality that the average viewer—and the YouTube compression algorithm—will never notice. By avoiding these common traps and utilizing the categorized collections of commands available in open-source repositories, creators can build a production-ready system that turns hours of work into a single click.
Future Trends: What works in 2026 and beyond
As we move toward 2026, the landscape of automated video production has shifted from simple "template filling" to what I call Dynamic Narrative Assembly. The days of just slapping a different background behind a talking head via an FFmpeg overlay filter are over. In my recent experiments, I’ve seen the industry pivot toward ultra-efficient codecs and AI-integrated filters that live directly within the FFmpeg ecosystem.
The most significant trend I’ve integrated into my workflow is the use of AV1 hardware encoding as the global standard. By 2026, the computational cost of AV1 has plummeted, and the efficiency gains are too large to ignore. In my studio, we’ve migrated our entire 100-video batch process to utilize serverless GPU clusters that handle FFmpeg commands via ephemeral containers. This allows us to scale from 1 to 1,000 renders without touching our local hardware.
Furthermore, we are seeing the rise of Metadata-Driven Creative. Instead of hard-coding visual elements, we use FFmpeg to pull real-time data from APIs—weather, stock prices, or social sentiment—and burn them into the video stream using the drawtext and overlay filters at the exact millisecond of the render. This makes "mass-produced" content feel localized and immediate, which is the only way to capture attention in an oversaturated feed.
My Perspective: How I do it
In my studio, I don’t treat FFmpeg as just a tool; I treat it as the engine of a high-speed laboratory. When I set out to render 100 videos in 10 minutes, I’m not looking for a "finished product" in the traditional sense. I am looking for data. On my channels, I use automation to perform A/B/C/D/E testing at a scale that manual editors find physically impossible.
My internal framework relies on "Modular Scripting." I’ve developed a library of Bash and Python wrappers that allow me to swap out specific FFmpeg filter chains—like a complex gltransition or a custom unsharp mask—across an entire batch with a single line of code. This ensures that while the process is automated, the aesthetic remains premium. I don’t use generic presets. I write my own complex filtergraphs to ensure my videos don't have that "automated look" that viewers have learned to despise.
The Contrarian Truth: The "Post Every Day" Advice is a Trap
Here is where I disagree with almost every "automation guru" on the internet: The YouTube algorithm in 2026 doesn't want your volume; it wants your velocity of engagement.
Everyone tells you that because you can render 100 videos in 10 minutes, you should upload them all as fast as possible to "flood the zone." This is a lie, and in my experience, it’s the fastest way to get your channel shadowbanned or relegated to the "spam" tier of the recommendation engine.
In my studio, I’ve noticed that when we upload too frequently—even if the content is high-quality—the algorithm begins to treat the channel as a utility rather than a creator. Your Click-Through Rate (CTR) might stay steady, but your "Average View Duration" per unique viewer drops because you are fatiguing your audience.
I use FFmpeg automation to produce 100 variations so I can find the one that works, not so I can post all 100. I might render 100 versions of a hook with different color grades, background music (using amerge), and text overlays. I then test these in small batches or through shorts to identify the "Winner."
Automation is for optimization, not for spamming. If you use these tools to replace creativity with raw volume, you will fail. If you use them to amplify your creative testing, you become unstoppable. Trust the math, but respect the viewer.
How to do it practically: Step-by-Step
Moving from theoretical understanding to actual production requires a shift in mindset: you are no longer an editor; you are a system architect. To render 100 videos in a 10-minute window, you must stop interacting with a GUI and start talking directly to your hardware.
Here is the exact workflow to turn a folder of assets into a library of high-quality content.
1. Structure Your Asset Pipeline
What to do: Create a standardized directory structure that allows your script to locate inputs and deposit outputs without manual intervention.
How to do it: Create a root folder for your project. Inside, create three subfolders: /assets (for background loops or static images), /audio (for your voiceovers or music tracks), and /output. Name your files using a numerical index (e.g., audio_001.mp3, audio_002.mp3). This naming convention allows a simple loop to pair the first audio file with the first visual asset automatically.
Mistake to avoid: Do not use filenames with spaces or special characters. FFmpeg and shell scripts often struggle with "Video Clip 1.mp4." Use underscores or hyphens to ensure the script parses the paths correctly.
2. Craft the High-Speed FFmpeg Command
What to do: Define the specific parameters that FFmpeg will use to combine your audio and video streams.
How to do it: Use a command that prioritizes speed by avoiding unnecessary re-encoding where possible. For most YouTube-bound videos, you want a command like this:
ffmpeg -loop 1 -i assets/bg.jpg -i audio/001.mp3 -c:v libx264 -tune stillimage -c:a aac -b:a 192k -pix_fmt yuv420p -shortest output/video_001.mp4.
If you are using a video background instead of an image, using the -stream_loop -1 flag before the input allows you to loop a short 10-second clip infinitely to match any audio length.
Mistake to avoid: Avoid using high-complexity encoding presets like veryslow. While they produce slightly smaller files, they will destroy your 10-minute deadline. Stick to preset fast or preset ultrafast for bulk production.
3. Implement Parallel Processing
What to do: Instead of rendering video #1, then video #2, then video #3, you must instruct your computer to render multiple videos at the same time.
How to do it: Use a simple Bash script (on Linux/Mac) or a Python script to iterate through your folders. To achieve massive speed, leverage the 'xargs' command with the -P flag to utilize every CPU core simultaneously. For example, ls audio/*.mp3 | xargs -n 1 -P 8 ./render_script.sh tells your computer to run 8 render processes at once. If you have a 16-core processor, you can push this even higher to slash your total rendering time.
Mistake to avoid: Don't overload your RAM. While your CPU can handle many parallel renders, each FFmpeg instance consumes memory. If you try to run 50 renders at once on 8GB of RAM, your system will crash. Start with 4 parallel processes and scale up based on your hardware's performance.
4. Automated Quality Control and Scaling
What to do: Verify that the 100 videos produced are synchronized and ready for upload without watching every single one.
How to do it: Use FFmpeg's ffprobe tool to extract the duration of your output files and compare them against your input audio lengths. A simple script can flag any video where the duration doesn't match the source audio, indicating a render failure. Once your local script is perfected, you can move this entire logic to a VPS (Virtual Private Server) to free up your local machine.
Mistake to avoid: Many creators realize too late that manual video rendering, even with scripts, takes too much time to manage and troubleshoot. Keeping your hardware running at 100% capacity for hours can lead to overheating and system instability. This is exactly why tools like SynthAudio exist. They handle the heavy lifting of cloud-based FFmpeg automation in the background, allowing you to generate hundreds of videos via a simple interface without ever writing a line of code or worrying about CPU thermal limits. If your goal is true scale, moving away from local execution is the final "aha!" moment.
Conclusion: Scaling Your Digital Empire
Transitioning from manual editing to FFmpeg automation is the single most important leap a content creator can make in the era of high-volume digital consumption. By removing the bottleneck of human intervention, you unlock the ability to flood multiple niches with high-quality, programmatically generated content. This workflow doesn't just save time; it provides a massive competitive edge, allowing you to dominate search results and test content variations at a scale that was previously impossible. The power of the command line transforms your computer from a simple tool into a relentless video factory. As you implement these scripts, remember that the true value lies in the iteration—use the time you've reclaimed to study your analytics and refine your creative templates. The era of manual rendering is over; the era of algorithmic dominance has begun.
Written by Jordan Flux, Senior Automation Engineer and Content Strategist.
Frequently Asked Questions
How does FFmpeg render 100 videos so quickly?
The speed is achieved through parallel processing and direct stream copying.
- Command Line: Bypasses heavy GUI overhead.
- GPU Acceleration: Uses NVENC or AMF for hardware-level encoding.
What is the impact of automation on channel growth?
Automation allows for unprecedented upload frequency without burnout.
- Market Testing: Rapidly launch multiple niche channels.
- Saturation: Occupy more digital real estate in search results.
Do I need a supercomputer to run these scripts?
While better hardware helps, efficiency comes from the software configuration.
- CPU Threads: FFmpeg scales across all available cores.
- RAM: Minimal usage compared to Adobe Premiere or DaVinci Resolve.
What are the next steps after mastering basic rendering?
The next phase involves dynamic data integration.
- API Integration: Pulling real-time data into video overlays.
- AI Voiceovers: Automating the entire audio-visual pipeline.
Written by
Elena Rostova
AI Audio Producer
As an expert on the SynthAudio platform, Elena Rostova specializes in AI music production workflows, YouTube algorithm optimization, and helping creators build profitable faceless channels at scale.
Read Next
The 5-Minute Trick to Making Cinematic Shorts That Drive Long-Form Watch Time
From 0 to 100k Subs: The Exact Shorts-to-Long-Form Ratio for Music Channels

Why You Should Never Post a YouTube Short Without a Linked Long-Form Video